Project Log: Saturday,
November 7, 2009
Home Page >
The Project >
Project Logs > 11/7/09 |
My original plan had been to
continue work inside the hull and clean up the after
sections of the boat, inside the cockpit lockers and engine
room. However, I erred and failed to order in time the
fresh supply of flap wheels that I needed, having exhausted
the supply last weekend and not counting on these discs
needing to come from a one-day more distant supplier
warehouse than I expected.
It was just as well to go
in a different direction for a change, so I decided to sand
the hull. I was growing truly sick and tired of the
existing appearance, with old, tired paint, charred gelcoat,
and hairy, burned fiberglass shards a-hanging, and it seemed
as good a time as any to begin the exterior hull work.
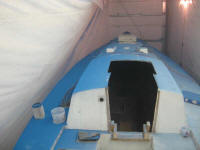
Besides, I needed to build some staging soon to allow me to
work comfortably on deck, and it'd be more convenient to
have the hull sanded before I restricted access by building
staging at deck height.
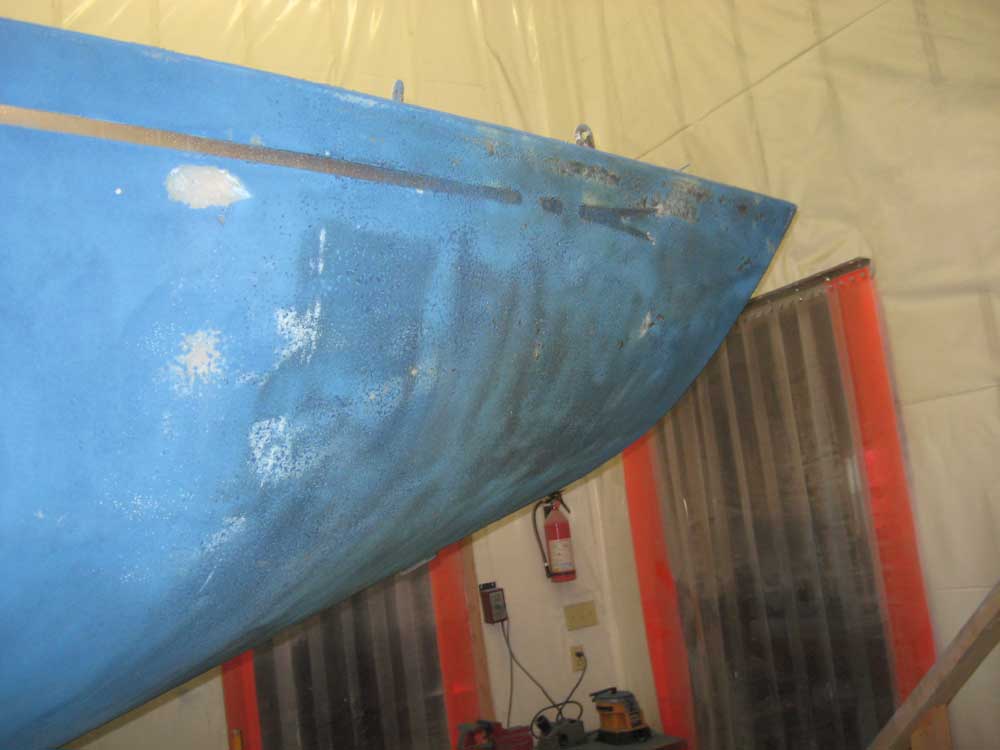
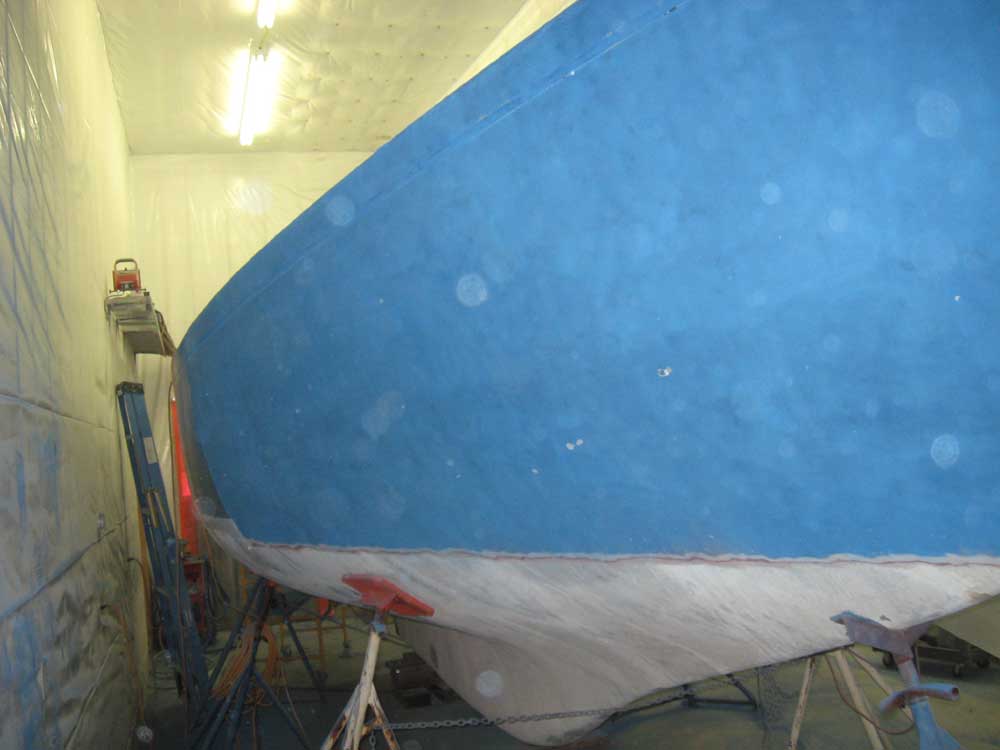
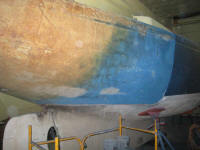
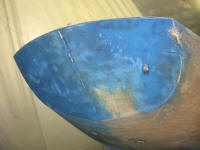
I began on the port quarter,
where I just quickly sanded the charred and buckled gelcoat
on the counter to clean it up and remove loose material,
more to allow me a better opportunity to see what I was
working with than anything. Plus, just removing some
of the charred material made things look better, though of
course there would be substantially more work required in
these stern sections.
|
 |
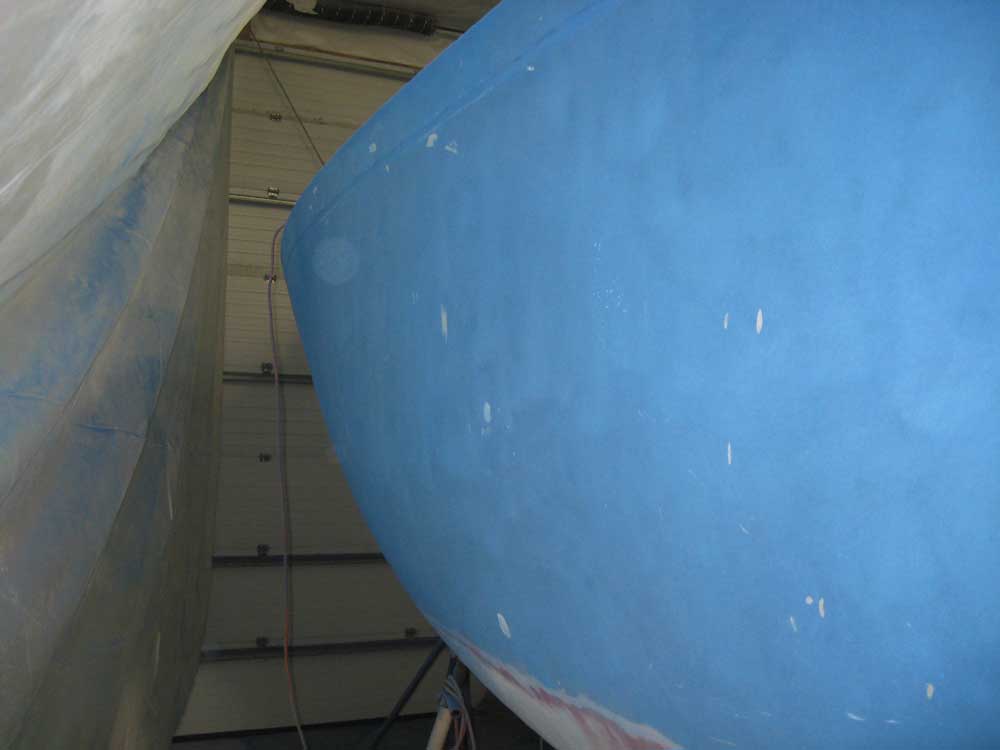
Once I moved past the areas with obvious heat and
fire damage, I continued forward, sanding first with 40 grit
paper to remove the bulk of the paint and primer beneath,
and finishing up with 80 grit to remove the remaining primer
and smooth the surface.
The gelcoat beneath
the paint was a light-ish blue similar to the color of the
paint I was removing. The hull was generally a mess,
with constellations of previously-filled dings and scratches
and lots of pockmarks in the gelcoat. |

 |
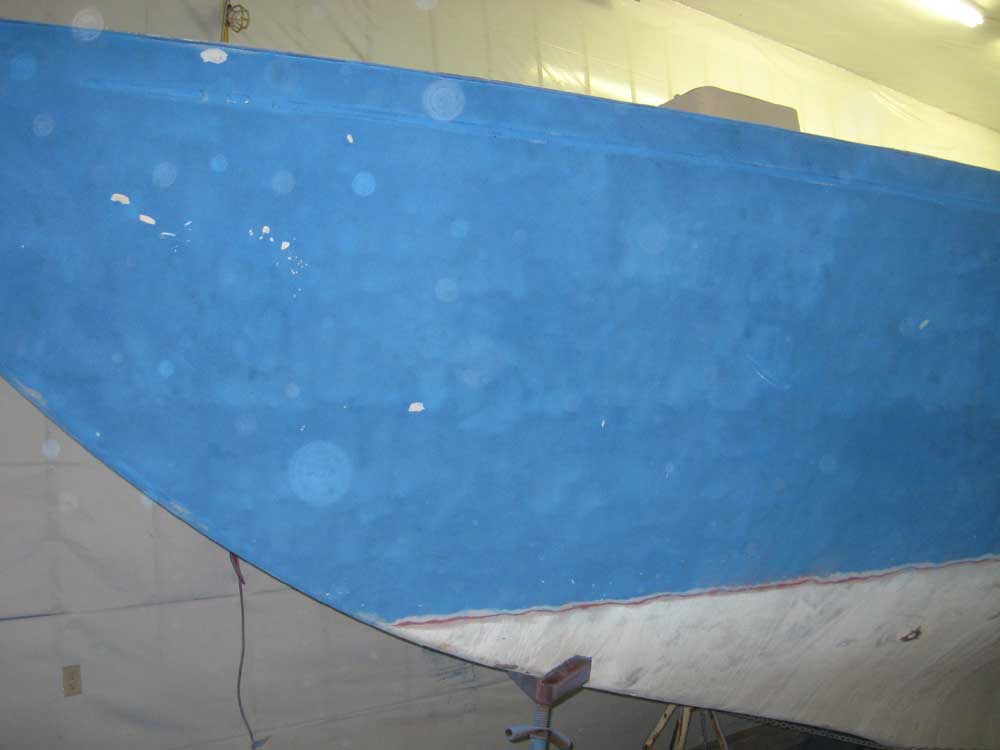
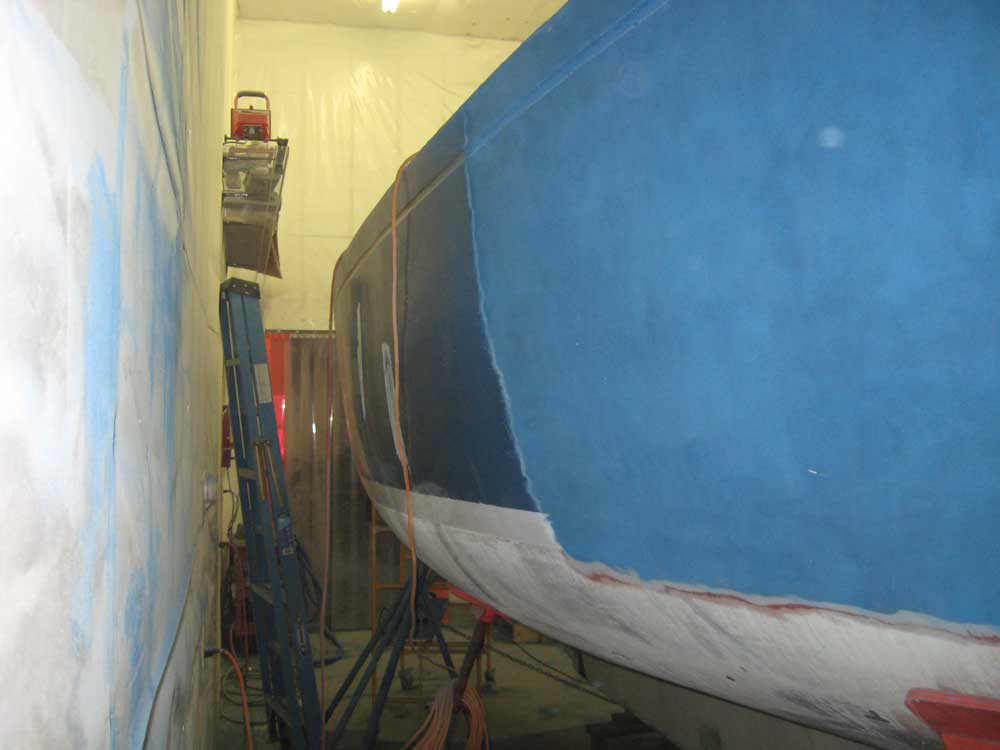
I sanded from the gunwale to just below the
waterline, and eventually continued past the stem and down
the starboard side, proceeding as far aft as my rolling
staging would go before running into jackstands and the wall
(the boat was fairly close to the wall of the shop, though
far enough away for the permanent staging I planned to
build). |

 |
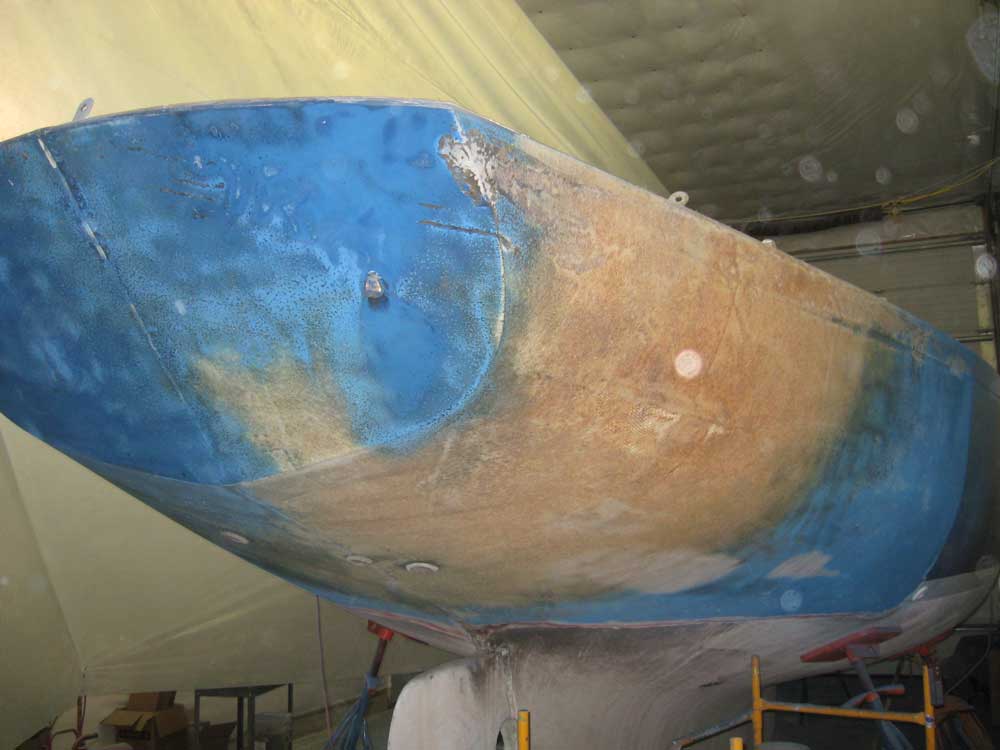
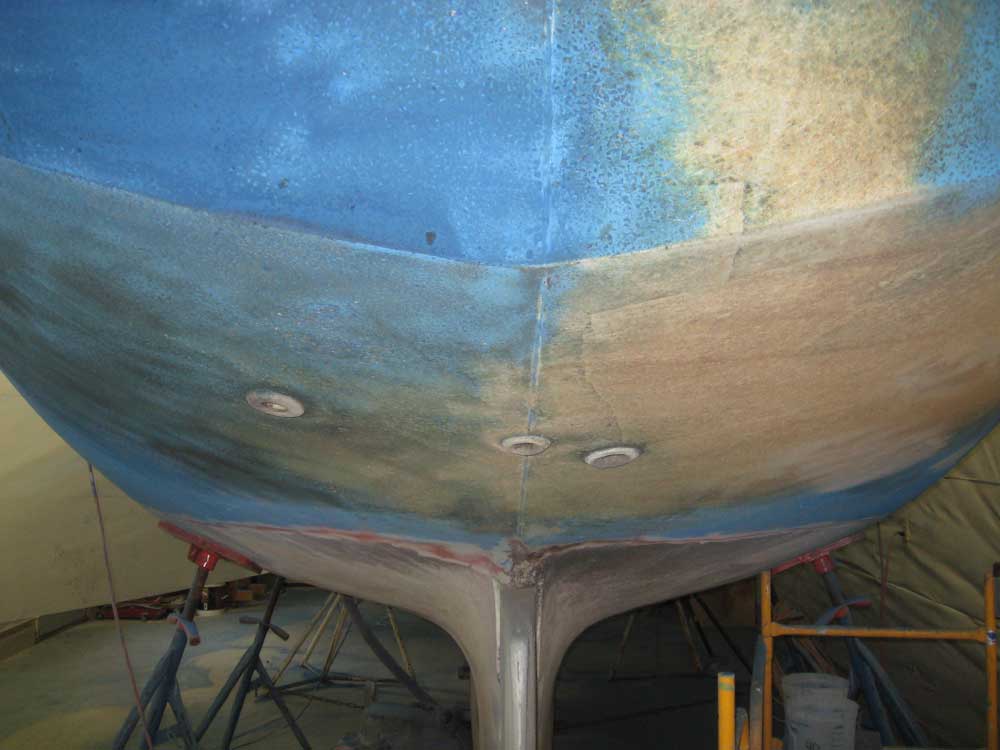
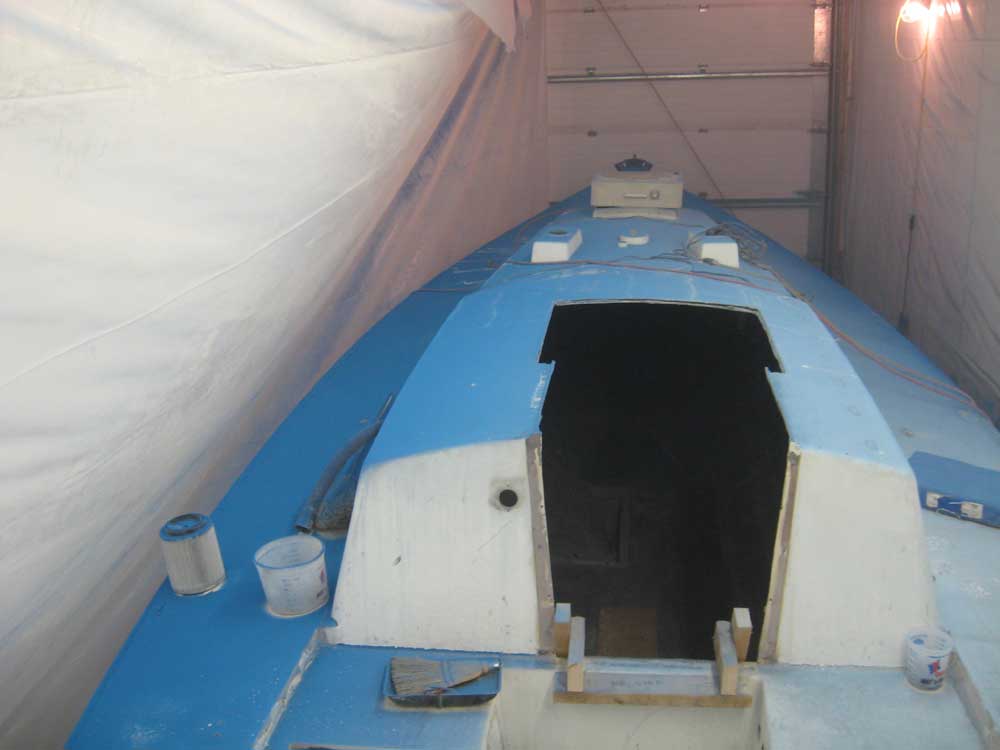
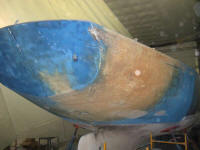
At this point, I returned to the stern and sanded
the starboard quarter far enough to get past the badly
damaged areas. It was a relief to remove the dry,
charred fiberglass strands that I'd been staring at for
years, and while the laminate beneath showed signs of
additional damage that I'd be dealing with during the stern
repairs, the boat looked much happier to be rid of some of
the outward burdens of her past. A happier boat means
a happier owner. Still, there was abundant work
ahead to rebuild the damaged stern, and the sanding today
didn't begin to address the real repairs required. |
 |
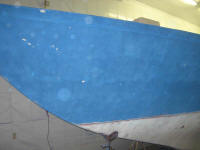
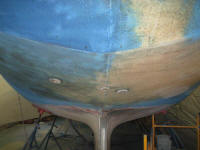
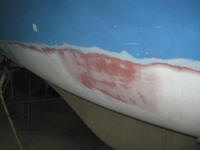
The bottom appeared to have several coats of
ablative paint (a red signal coat with shark white over),
all of which had been applied atop a barrier coat. I
sanded an inch or two below the level of the old boottop.
The old bottom paint was in generally good shape, and I
began the internal debate over whether or not to remove all
the paint and barrier coat, or whether to simply heavy-sand
the bottom and go from there. But that was a decision
for another time. I'm not fussy about bottoms, but
typically like to start from square one during a job such as
this. Still, why strip all that paint if it doesn't
need it? It's not like bottom stripping is a fun
diversion, and I'd certainly rather not do it. Is
vanity and seeing a bare bottom worth the effort? Time
would tell. |
 |
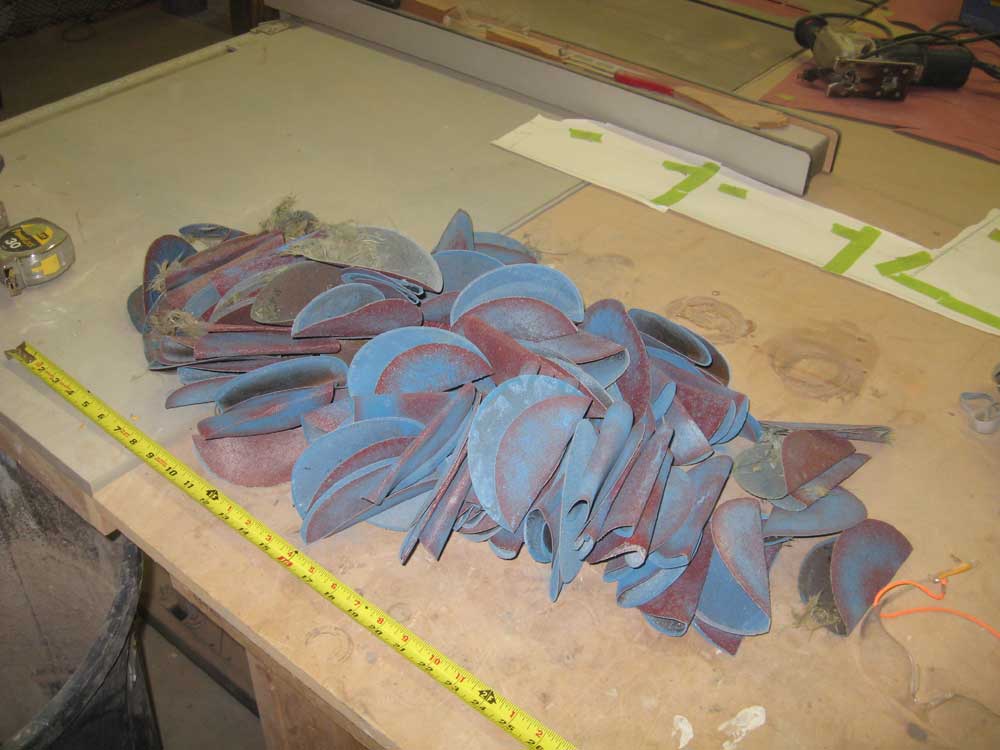
The day's work produced a large pile of exhausted
sanding discs and some blue dust. |


 |
Total Time Today: 6.75 hours |
Previous |
Next |
|
|